

After the last dance, what remains is a hard drive full of photos: hundreds, sometimes thousands of them. A wedding album design template helps turn that pile into a story you’ll actually pick up and flip through, from getting ready in the morning to the sparkler send-off at night. Whether you’re a couple building your own keepsake, a parent making a gift, or a photographer designing albums for clients, a good layout does most of the heavy lifting.
On this page you’ll find nine wedding album designs and layout ideas, from clean white minimalist spreads to art deco photo books and classic magazine-style pages. Some link to online photo book services where you can customize and order, some to guides and design examples, and three original pages are no longer online. Before the gallery we’ll help you plan your album; afterward, you’ll get layout tips, a page-by-page outline and answers to common questions.
Plan the Story Before You Pick a Template
The best albums read like a book, with a beginning, middle and end. Before choosing a design, sketch the chapters of your day:
- Getting ready: dress, details, rings, invitations and quiet moments.
- First look or walk down the aisle.
- The ceremony: vows, rings, the kiss, the recessional.
- Portraits: the couple, wedding party and family groups.
- Reception details: venue, tables, cake, flowers.
- The party: entrances, speeches, first dance, dancing.
- The send-off: the last photo of the night.
Choosing an Album Style
| Style | Look and feel | Good fit for |
|---|---|---|
| Classic flush-mount | Thick pages, seamless spreads, timeless layouts | The main heirloom album |
| Photo book | Thinner pages, printed cover, lower cost | Parent albums, guest gifts, travel-friendly copies |
| Minimalist white | Lots of white space, one or two photos per page | Modern weddings, fine-art photography |
| Magazine or editorial | Bold crops, text blocks, collage spreads | Couples who love storytelling and quotes |
| Art deco or vintage | Geometric borders, gold accents, classic fonts | Themed weddings and glamorous venues |
How many photos and pages?
There’s no fixed rule, but a common approach is to choose your favorite images first, then let the page count follow. Many couples find that a selection somewhere between 60 and 120 photos tells the story without feeling repetitive. Be ruthless: three similar shots of the same moment rarely add as much as one great one.
About the links below: Some buttons open online photo book services where you can customize a design and order a printed album (prices and options are set by each provider). Others lead to design examples and how-to guides. Three of the original pages are no longer online, so their buttons are inactive, but the previews still offer layout ideas. If your photographer took the images, check your contract for any rules about printing and sharing.
9 Wedding Album Design Templates and Layout Ideas
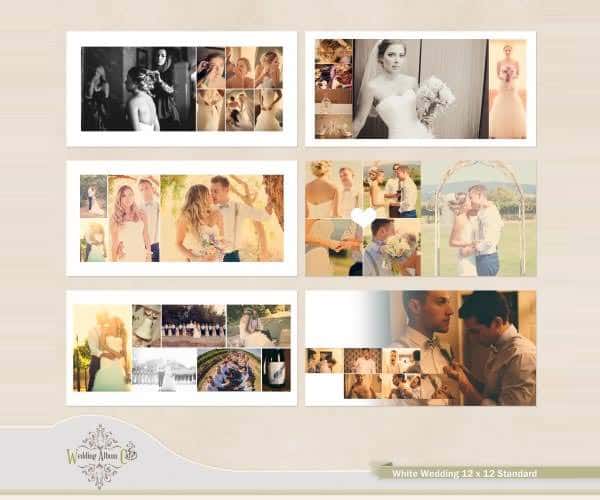



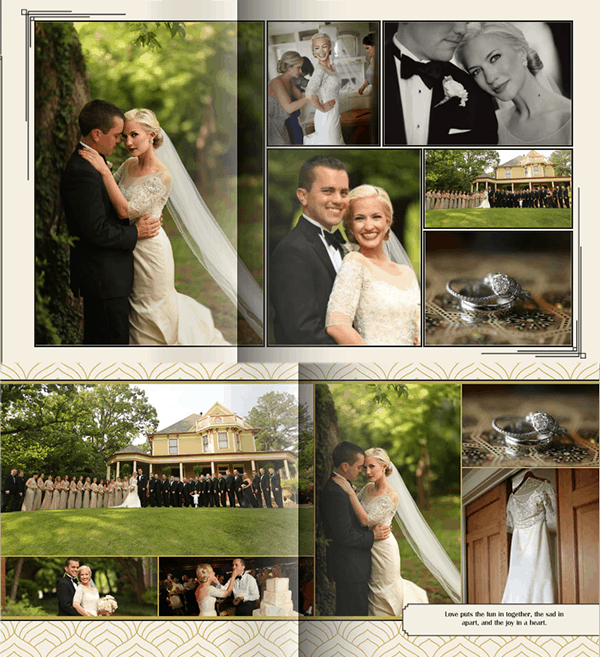

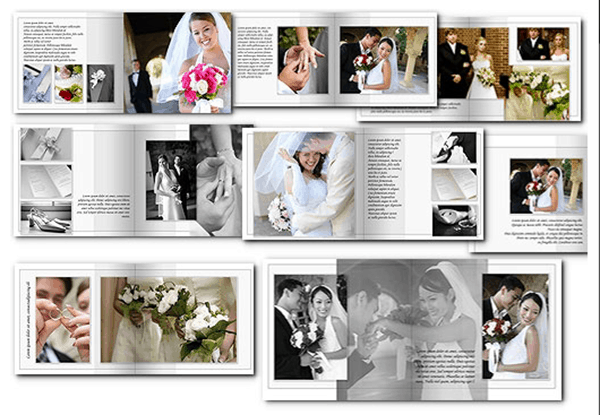


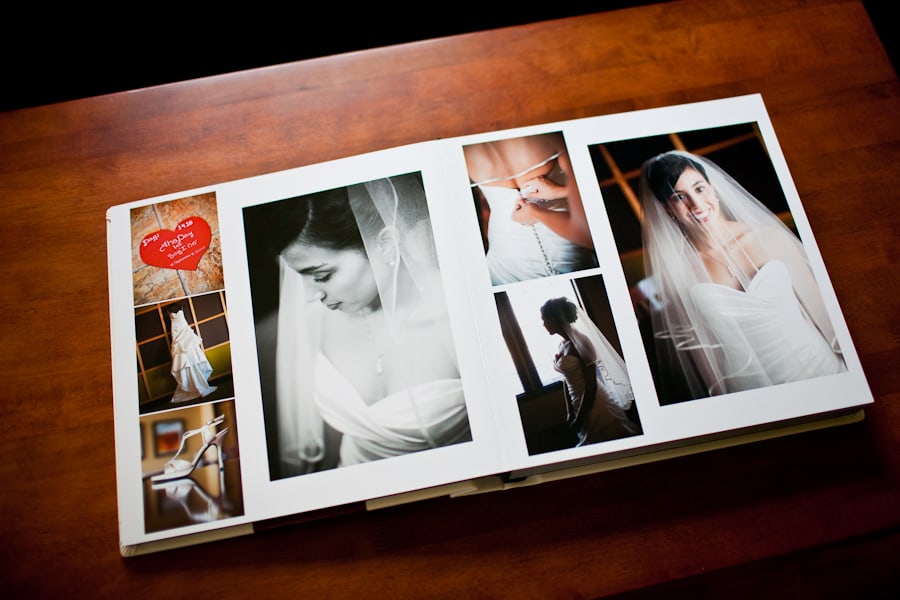

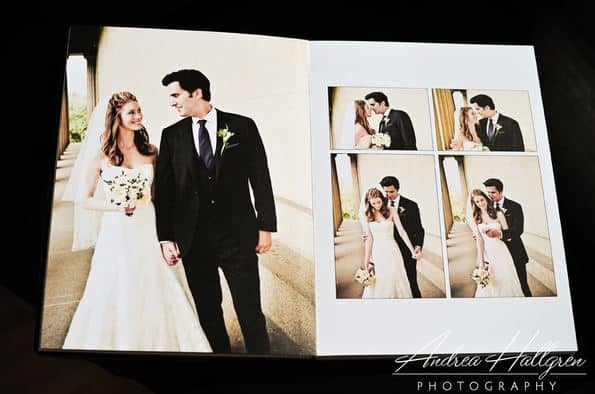


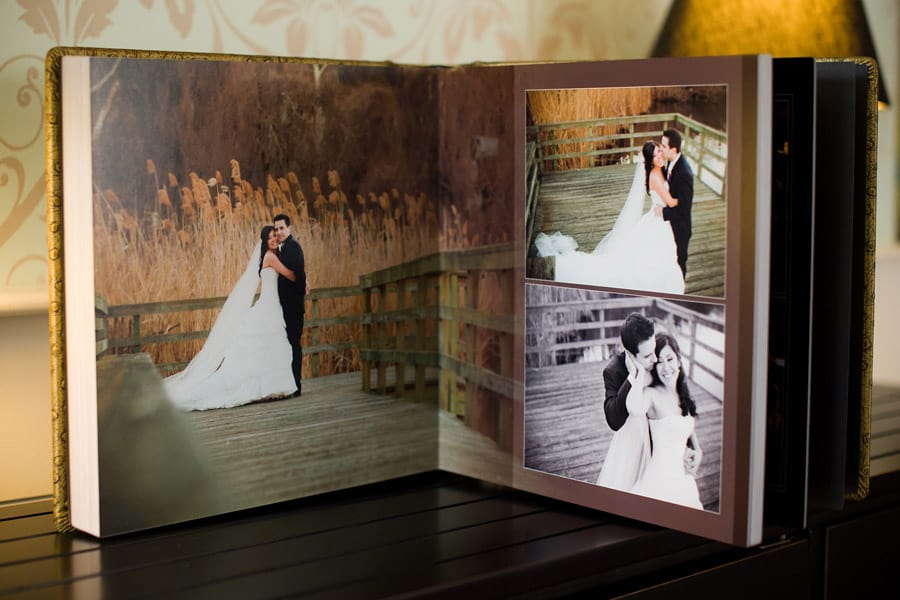

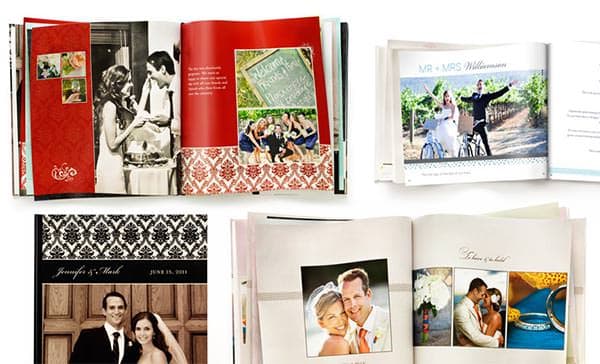

Layout Rules That Make Albums Look Professional
- One hero image per spread. Let a single strong photo lead each two-page spread, supported by smaller detail shots.
- Mix sizes and orientations. Pair a vertical portrait with two horizontal candids to create rhythm.
- Keep faces away from the gutter. The center fold can swallow faces in a full-bleed image. Shift the crop or use a single-page layout.
- Use consistent margins. Even white space around photos looks calm and deliberate.
- Limit text. A short quote, your names and date, or a line from your vows is plenty.
- Match the color edit. Don’t mix black-and-white and color versions of the same shot on one spread unless it’s clearly intentional.
A Sample 20-Spread Album Outline
| Spreads | What to include |
|---|---|
| 1 to 2 | Title page, invitation and details |
| 3 to 5 | Getting ready, first look |
| 6 to 9 | Ceremony from arrival to recessional |
| 10 to 12 | Couple portraits and wedding party |
| 13 | Family groups |
| 14 to 15 | Reception details and entrances |
| 16 to 18 | Speeches, first dance and dancing |
| 19 to 20 | Late-night fun and send-off |
Adjust the balance to your day: a small backyard wedding might have more candid family moments, while a formal ballroom event might lean on portraits and decor.
Adding Words Without Cluttering the Pages
Photos tell most of the story, but a few well-chosen words make an album personal. Here are some ideas that work well with most templates:
- Opening page: your names, wedding date and venue, set in the same font as your invitations.
- Chapter titles: short labels like “The Morning,” “I Do” or “Let’s Dance” at the start of each section.
- A line from your vows on the ceremony spread.
- Quotes from speeches next to photos of the people who gave them.
- A closing note to each other, or a thank-you to family, on the final page.
Keep fonts simple and readable. One elegant script for names and titles, paired with a clean serif or sans-serif for any longer text, is plenty. Make sure text sits on calm areas of a photo or on a plain background so it stays legible. If you’re creating copies for parents or grandparents, consider a slightly larger font size and fewer words; the photos will carry the emotion. Little touches, like the date of your first dance song or the name of the venue’s garden, are details you’ll be glad you wrote down years later.
Do It Yourself or Hire a Designer?
Designing your own album with a template saves money and gives you full creative control, but it takes time: selecting images, arranging spreads and proofreading can easily fill several evenings. Many photographers offer album design as part of a package, often with professional print labs and higher-end materials. A middle path is to choose your favorite photos and a template style, then ask your photographer to finalize the layout and printing.
Real-life approach: One couple started their album during their first anniversary week, a gentle deadline that finally got the photos off the hard drive. They chose a minimalist white template, picked their 80 favorite images over two evenings, and ordered a main album plus two smaller photo book copies for their parents using the same layout.
Before You Click “Order”
- Proofread every name, date and caption.
- Zoom in to check photos for low resolution or awkward crops.
- Confirm the album size, cover material and page count with the provider.
- Check whether your photographer’s contract or print release covers ordering prints elsewhere.
- Save a backup of the final design file and all original photos in two places.
More Templates for Wedding Planning and Keepsakes
An album is the last step of a long planning process. If you’re still organizing the big day, a party planning checklist keeps tasks on track, and a clear catering contract helps you confirm menus, headcounts and payments with vendors (contract rules vary by location, so have important agreements reviewed). After the wedding, share highlights with relatives through a family newsletter, or create a keepsake family tree that welcomes your new in-laws. Designers presenting album covers to clients may also like these PSD book mockups.
Frequently Asked Questions
When should we start designing our wedding album?
As soon as you receive your final edited photos. Setting a target date, such as your first anniversary, helps prevent the project from slipping.
Can I print my album through any photo book service?
Usually, yes, as long as you have permission to print the images. Check your photographer’s contract for any print release terms.
What size wedding album is most common?
Square and landscape formats are both popular. Choose a size that suits your favorite photos and where you’ll display or store the album.
Should we include guest photos?
A few great candids from guests can add warmth, but check their resolution first. Low-quality phone images may look blurry when printed large.

